
There are two ways which you can add your customers:
Manually add individual customers
Upload via Bulk Add Customers in CSV
Manually add individual customers
To add a customer
Click Customers on the main navigation panel
On the listing page, click on + New Customer

Once you have completed filling up the fields, click Save. The new customer will be displayed on the customer listing page.
Customer fields:
Customer Name (required) – The name of your customer.
Customer Code – The unique code of your customer. This code must be unique for every customer.
Customer Group – Multiple groups can be assigned to each individual customer. When creating or editing a product, different sets of product selling price can be set for customer groups as well as individual customer.
Learn more about Pricing Tiers
Customer Photo – Upload a customer image
Website – Specify the website of the customer’s company if applicable
Remarks – Additional description of the customer
Tags – Tag attributes can be used as filters in the customer listing page advanced search feature, multiple tags are allowed for a single customer.
Access – You may want to restrict access to the customer you have created to specific users. The restriction can be applied to the following:
All users
Specific users (select the username(s) you wish to allow access to, the username of the person who is creating the customer will be auto populated)
Note that the user access rights will take precedence.
E.g. If access is given to User A to view this customer, User A has to possess at least a Read permission in order to view it.
Learn more about User Access Rights
Credit Terms – Specify a default duration for due payment on the orders made by the customer. Select a value in the drop-down list. You may create new credit terms by clicking Add at the bottom right corner of the drop down list.
Credit Limit – Specify the maximum value of unpaid sales that you are allowed to issue to a customer. EMERGE prevents you from issuing a new sales order if the total sales value exceeds the credit limit amount.
Default Currency – Specify the currency which the customer is based on. When creating a quotation or sales order, after selecting the customer, the default currency of the customer will be auto populated.
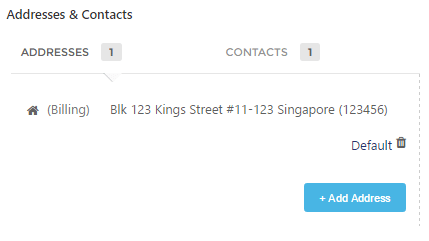
Addresses – If you are handling recurring customers and require to issue transaction documents, it is recommended that you create your customer with his/her address and set it as the default shipping and billing address.
For instance, when creating a sales order, the default shipping and billing address will be auto populated.
If your customer has separate addresses for shipping and billing, you can create multiple addresses but only one default address for both shipping and billing is allowed.
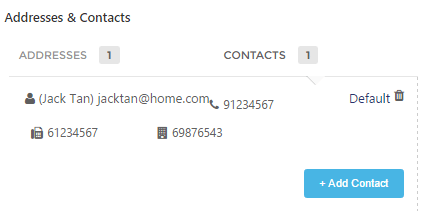
Contacts – Besides storing your customer contacts for reference, you may select these contacts as attention parties in some documents such as your sales order, you can specify one or more people to attention the document to.
Upload via Bulk Add Customers in CSV
To upload customers:
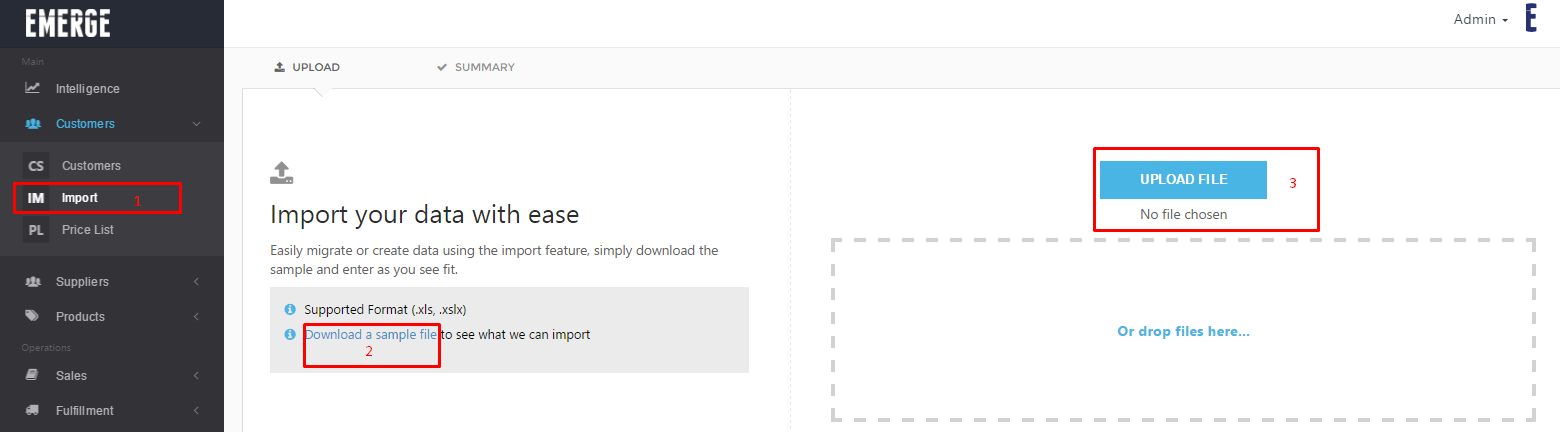
Click Customers on the main navigation panel > Import
On the import page, click on the Download a sample file link to download a copy of a sample import CSV if you are doing this for the first time and copy your existing customer information into respective fields
Click UPLOAD FILE or drag and drop
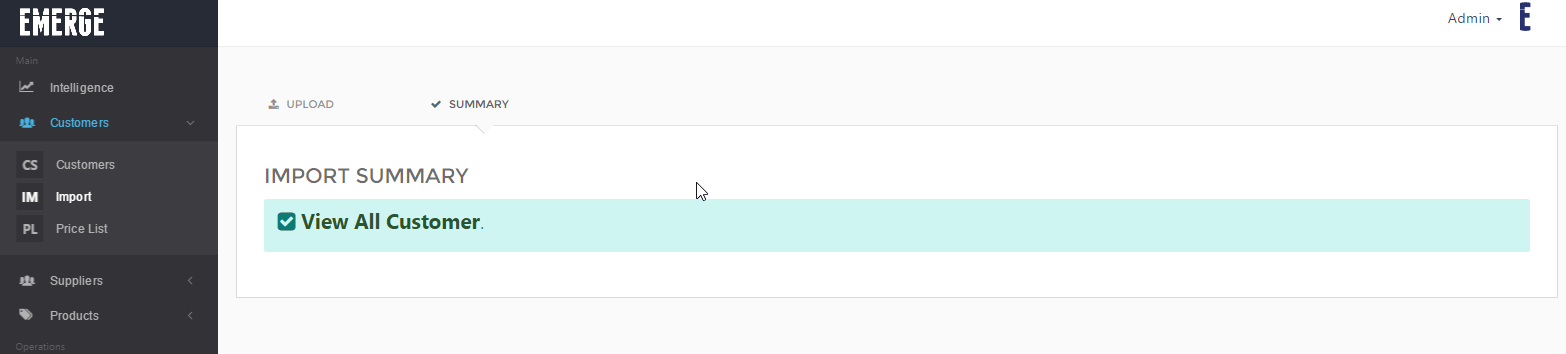
A successful message will be displayed if the import is successful.
Instruction video: